When out on the streets with a highly functional trailer, you must consider a few things. Is the trailer in the right shape? Are the tires functional? Have you checked the brake system?
Brakes are a crucial component across vehicle variants. They ensure your optimum safety, even that of your trespassers. Therefore, mastering the ideal trailer brake replacement technique is a boon. While it does not necessarily have to be a professional deed, it allows you to DIY the way out of trouble.
If you are a first-timer trying to tackle the intricacies and DIYs of a trailer, this comprehensive read is perfect for you. We will explore every aspect of trailer brake repair and replacement, giving you the leverage to DIY.
Let us learn how to replace or change trailer brakes like professionals and keep the trailer up and running.
What is a Trailer Brake?
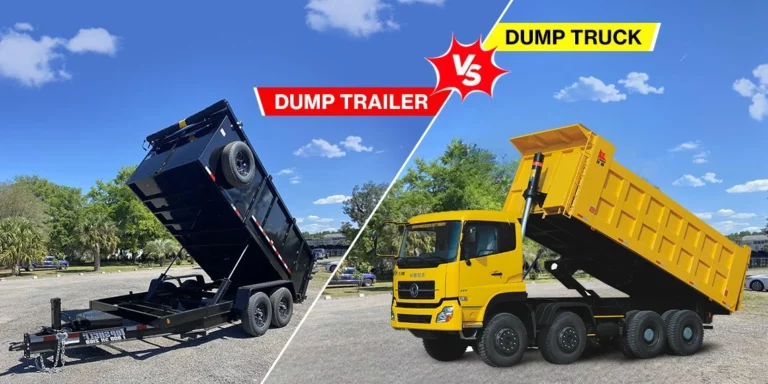
As the name explains, a trailer braking system is installed within the trailer to ensure the safe towing of the vehicle. The towing car kicks the mechanism, allowing the trailer to slow down whenever necessary.
Typically, a trailer brake system is controlled by an electronic controller. It is diligently linked to the towing vehicle. The controller regulates the braking force applied and syncs with the two cars for a safe pause.
This electronic braking system powers most heavy-duty trailers to facilitate overall control and prevent jackknifing.
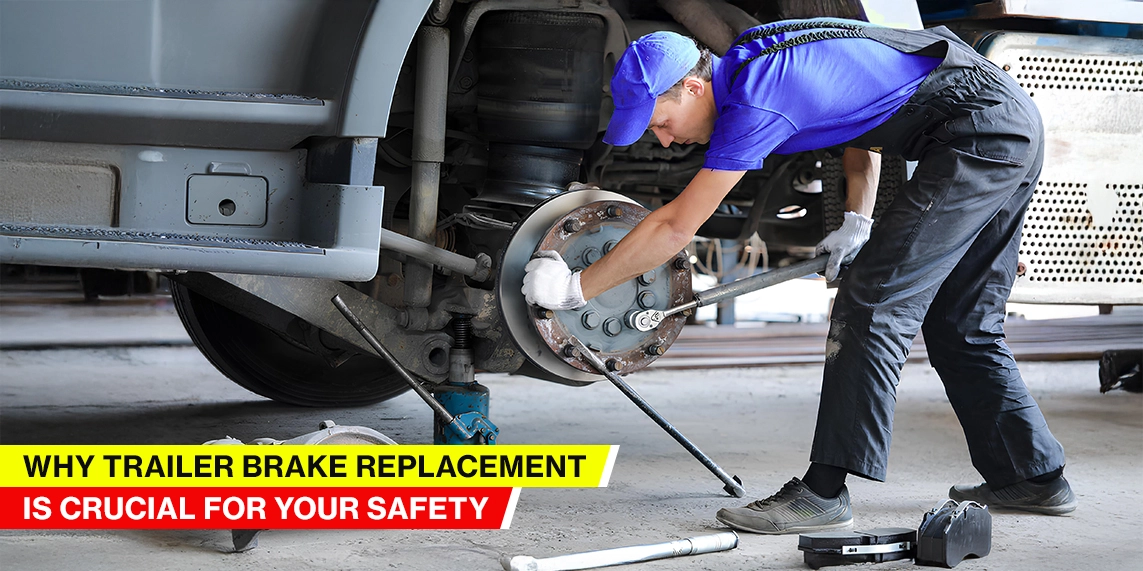
Why is Trailer Brake Replacement Crucial?
Now that we have answered your question, ‘What is a trailer brake?’ Let us understand the criticality of trailer brake replacement.
Brakes are a vital component of any vehicle, regardless of the road. Keeping trailer brakes functional and maintained ensures street safety for you and your fellow drivers. You can reliably stop for emergencies with zero chances of malfunctioning during loading.
Furthermore, lack of maintenance can often lead to worn-out trailer brakes and an additional cost for replacement.
When to Consider Changing Trailer Brakes?
Your trailer brakes are a critical safety component. They ensure you maintain control and prevent accidents, especially when hauling heavy loads.
But how do you know when it is time for a replacement?
Unlike your tow vehicle, trailer brakes often go unchecked until a problem arises. Being proactive and recognizing the telltale signs of wear can prevent costly repairs and keep you and others safe on the road.
Let us delve into the key indicators that signal it is time to consider changing your trailer brakes –
1. Reduced Braking Performance
If the trailer takes longer to stop or the brake pedal seems spongy, it indicates that the brakes are losing their effectiveness. This can be due to worn brake shoes or pads, contaminated brake fluid, or issues with the brake actuator.
2. Unusual Noises
Squealing, grinding, or scraping sounds during braking are often signs of worn brake pads or shoes. Noises also indicate that the brake components are rubbing against the rotor or drum, causing further damage.
3. Vibrations or Pulsations
Suppose you feel vibrations or pulsations in the brake pedal or steering wheel when braking. It could be a sign of warped rotors or drums. Such issues significantly reduce braking efficiency and create unsafe driving conditions.
4. Visual Inspection of Brake Components
Regularly inspect your brake pads or shoes for wear. They need to be replaced if they are worn down to the wear indicators or visibly thin. Check the rotors or drums for scoring, cracks, or excessive rust. Then, inspect the brake lines for cracks and leaks.
5. Dragging Brakes
If you notice the trailer’s wheels are hot after a short drive, it could indicate that the brakes are dragging. A seized caliper, a faulty brake actuator, or a problem with the brake adjustment is probably causing it.
6. Uneven Brake Wear
If one side of the trailer brakes wears faster than the other, it could indicate a problem with the brake adjustment or a faulty brake component.
7. Brake Fluid Leaks
Inspect the brake lines, master cylinder, and wheel cylinders for leaks. Low brake fluid levels can lead to reduced braking performance and brake failure.
8. Age and Mileage
Even if you do not notice any signs of wear, replacing your trailer brakes regularly is vital. Most trailer manufacturers offer a recommended interval. Environmental factors, such as exposure to salt and moisture, can accelerate brake wear.
Pay close attention to these warning signs and conduct regular inspections. With effective checking, you can ensure your trailer brakes are always in optimal condition.
Do not wait for a dangerous situation; prioritize your safety by promptly addressing brake issues. Ensure your trailer brakes are in good working order, allowing for safer travel and peace of mind.
How to Replace Trailer Brakes?
Replacing trailer brakes is a task that demands precision and a thorough understanding of your trailer brake system.
While the general steps remain consistent, the nuances within each stage impact the outcome.
1. Preparation and Safety
i) Secure the trailer
Choosing a level with a solid surface is paramount. Even a slight incline can lead to dangerous situations when the trailer is lifted.
Wheel chocks are placed in front and behind the wheels and remain on the ground. They create a robust barrier against any unintentional movement.
For added safety, consider using heavy-duty jack stands rated for the weight of your trailer. Never rely solely on a hydraulic jack.
ii) Tools and Materials
Gather all necessary tools beforehand. This includes a lug wrench, socket set, torque wrench, jack, jack stands, brake cleaner, and replacement brake components.
Having a service manual specific to the trailer model can be invaluable. It provides diagrams and torque specifications.
Ensure you have the correct replacement brake shoes/pads, drums/rotors, and any necessary hardware.
iii) Personal Protection
Wear safety glasses to protect your eyes from debris. Gloves are essential to shield your hands from brake dust and sharp edges.
2. Disassembly: Accessing the Brake System
i) Wheel Removal
Loosening the lug nuts before lifting the trailer prevents the wheel from spinning.
When jacking up the trailer, place the jack under a sturdy point on the axle, as recommended by the manufacturer.
Once the wheel is removed, carefully inspect the hub and surrounding components for any signs of damage.
3. Brake Drum/Caliper Removal
i) Drum Brakes
Locate and release the brake adjuster, which allows the brake shoes to retract, making drum removal easier.
If the drum is stuck, gently tap it with a rubber mallet to loosen it. Avoid excessive force, which can damage the drum.
As you disassemble, pay close attention to the arrangement of springs and other hardware, as you will need to reassemble them correctly.
ii) Disc Brakes
Remove the caliper mounting bolts and carefully slide the caliper off the rotor. If necessary, compress the caliper piston using a specialized tool. Slide the rotor off the hub.
4. Inspection and Replacement
i) Thorough Inspection
Examine all brake components for wear, damage, or corrosion. Check brake springs for signs of fatigue or breakage. Inspect wheel bearings for looseness or roughness.
ii) Replacement
Replace brake shoes or pads worn down to the wear indicators or excessively thin. Rotors or drums must be replaced if they are scored, warped, or excessively rusted.
Clean the hub and backing plate with brake cleaner to remove any debris.
iii) Electric Brakes
If your trailer has electric brakes, inspect the electromagnets and replace them if worn or damaged. Also, check the wiring for damage and ensure all connections are secure.
5. Reassembly and Adjusting Trailer Brakes
i) Reassembly
Reassemble the brake components in the reverse order of disassembly. Ensure all parts are properly seated and secured. Pay close attention to the orientation of springs and other hardware.
ii) Adjustment
For drum brakes, adjust the brake until the shoes are close to the drum but do not drag. The ideal adjustment allows for a slight drag when the wheel is turned by hand.
For disc brakes, the process is self-adjusting.
iii) Wheel Re-installation
Reinstall the wheels and tighten the lug nuts by hand. Lower the trailer and use a torque wrench to tighten the lug nuts to the manufacturer’s specifications.
6. Testing and Verification
i) Initial Testing
Before driving, pump the brake pedal several times to ensure the brakes are functional. Check for any leaks in the brake system.
ii) Test Drive
Take a short test drive in a safe, controlled environment to verify proper brake operation. Listen for any unusual noises and feel for any vibrations or pulsations.
iii) Electric Brake Testing
Test the electric brake controller to ensure the trailer brakes are engaging.
Remember, these expanded steps prioritize safety. You can confidently replace your trailer brakes and ensure a safe and reliable towing experience.
Fixing Trailer Brakes vs. Replacing: Which One is Right for You?
When your trailer brakes start acting up, should you repair them or get a trailer brake replacement?
The answer is not always straightforward, and it hinges on several factors. For instance, the severity of the issue, the age of your brakes, your budget, and your mechanical aptitude are considerable factors.
Let us delve into the nuances of each option to help you make an informed decision.
1. Fixing the Trailer Brake
Sometimes, a complete overhaul is not necessary. Minor issues can be addressed with targeted repairs, saving time and money.
2. Surface-Level Problems
If you are experiencing squealing brakes due to glazed brake pads or shoes, a simple resurfacing is needed.
Similarly, a loose brake adjuster or a minor leak in a brake line can be fixed without replacing the entire braking system.
3. Targeted Component Replacement
If a specific component, like a worn-out brake spring or a faulty electromagnet (in electric brakes), is the concern, replacing the single part can be a cost-effective solution.
The approach is particularly viable when the rest of the braking system is in good condition.
4. Cost-Effectiveness
Repairing specific issues is generally less expensive than replacing the entire braking system. If you are comfortable with it, you can perform the repairs yourself, saving on labor costs.
However, fixing is not always the ideal solution. Here is why –
i) Hidden Damage:
What appears to be a minor issue might be a symptom of a more significant underlying problem.
Attempting a quick fix could mask the real issue, leading to more extensive damage and potentially dangerous situations.
ii) Diminishing Returns:
If your trailer brakes are old or heavily worn, repeatedly fixing individual components might become futile.
At a certain point, the cost of ongoing repairs can exceed the price of a complete replacement.
iii) Unreliable Performance:
Even after a repair, older brake components might not perform as reliably as new ones.
This can compromise your safety, especially when hauling heavy loads or navigating challenging terrain.
Trailer Brake Replacement
A complete brake replacement offers several advantages, especially when dealing with older or severely damaged brakes.
i) Comprehensive Solution:
Replacing the entire braking system ensures that all components are in optimal condition. It eliminates the risk of hidden damage or future failures, providing peace of mind and knowing that your brakes are reliable and safe.
ii) Improved Performance:
New brake components offer superior performance compared to older, worn-out ones. It translates to better braking power, shorter stopping distances, and enhanced control.
iii) Longevity:
A complete replacement extends the lifespan of your braking system, reducing the need for frequent repairs. This can save you money in the long run.
iv) Safety Assurance:
Replacing your entire system gives the most excellent assurance of safe travel. Knowing your brakes are new is a huge comfort when hauling heavy loads or traveling under challenging conditions.
Making the Right Choice during Trailer Brake Replacement
To determine whether fixing or replacing is the right option for you, consider the following –
- Minor issues can often be addressed with repairs, while severe damage or extensive wear warrants a replacement.
- Older or heavily worn brakes are more likely to benefit from a complete replacement.
- A trailer brake repair is generally less expensive than replacements, but we suggest considering the long-term costs.
- If you are comfortable performing repairs, you can save on labor costs. However, brake work is safety critical, so if you are not confident, hire a professional.
- Prioritize safety above all else. If you are unsure about the condition of your brakes, err on the side of caution and opt for a replacement.
The decision to fix or replace your trailer brakes is a personal one. By carefully considering these factors, you can make an informed choice that ensures your safety and keeps your trailer rolling smoothly.
Installing Trailer Brakes on a New or Used Trailer
Whether you are dealing with a brand-new trailer or a used one, the principles remain the same, though some specific challenges might arise.
1. Assessing Your Needs and Trailer
Your trailer’s Gross Vehicle Weight Rating (GVWR) is crucial. State and local regulations often mandate brakes for trailers exceeding a certain weight.
Consider the type of trailer (utility, boat, cargo, etc.) and the typical loads you will be hauling.
2. Brake Type Selection
Electric Brakes are the most common type for trailers. They offer reliable and adjustable braking and require a brake controller in your tow vehicle.
Hydraulic Brakes are often used on heavier trailers or those exposed to water (e.g., boat trailers). They can be surge brakes or electric-over-hydraulic.
3. Axle Compatibility
Ensure your brake assemblies are compatible with your trailer’s axle type and capacity. Axle manufacturers often have specific brake flange mounting patterns.
4. Used Trailer Considerations
- Inspect the existing axle and hub for any damage or wear.
- Check for proper wheel bearing condition.
- Inspect any existing wiring.
5. Gathering the Necessary Components
- Brake Assemblies: Include brake shoes/pads, drums/rotors, and backing plates (for electric brakes).
- Hubs and Drums/Rotors: If your existing hubs are incompatible, you must replace them.
- Brake Controller: Choose a controller that matches your towing needs.
- Wiring and Connectors: Use heavy-gauge wiring suitable for trailer applications. Ensure you have the correct trailer connector.
- Mounting Hardware: Bolts, nuts, and washers attach to the brake assemblies.
6. Installation Process
- Preparing the Axle: Clean the axle flange mounting surface thoroughly. Inspect for any damage or irregularities.
- Installing the Backing Plates: Use the provided hardware to attach the backing plates to the axle flange and ensure they are correctly aligned.
- Installing the Hubs and Drums/Rotors: Pack the wheel bearings with grease and install them in the hubs. Install the hubs onto the axle spindles. Attach the drums or rotors to the hubs.
- Installing the Brake Assemblies: Mount the brake shoes/pads onto the backing plates or calipers. Adjust the brake shoes (for drum brakes) to the proper clearance.
- Wiring (Electric Brakes): Run the wiring from the brake assemblies to the trailer connector. Connect the wires according to the brake controller and trailer wiring diagrams. Secure the wiring to prevent damage.
- Hydraulic Brake Plumbing: Install the brake lines, master cylinder, and wheel cylinders according to the manufacturer’s instructions. Bleed the brakes to remove any air from the system.
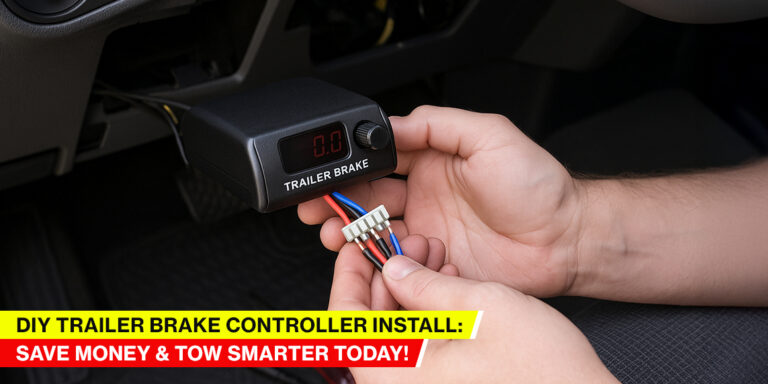
- Brake Controller Installation (Electric Brakes): Mount the brake controller conveniently in your tow vehicle. Connect the controller’s wiring to the tow vehicle’s wiring harness.
- Testing and Adjustment: Trailer brake adjustment demands a controlled environment. Adjust the brake controller (for electric brakes) to the proper setting.
- For drum brakes, fine-tune the adjusters. Visually inspect all connections and hardware.
7. Important Considerations:
- Safety First: Jack stands will support the trailer during installation. Double-check all connections and hardware.
- Professional Help: If you are uncomfortable with the installation process, seek assistance from a qualified mechanic or trailer repair shop.
- Regulations: Ensure your trailer brake installation complies with all applicable laws.
- Maintenance: Regularly inspect and maintain your trailer brakes to ensure optimal performance.
Trailer Brake Replacement Cost
Determining the exact cost of trailer brake replacement can be tricky. It depends on a variety of factors. Here is a breakdown of the elements that influence the final price:
Factors Affecting Trailer Brake Replacement Cost –
1. Type of Brakes:
- Electric brakes tend to have different costs than hydraulic brakes. They also require the additional expense of a brake controller in the tow vehicle.
- Disc brakes generally cost more than drum brakes.
2. Trailer Size and Axle Configuration:
- The number of axles on your trailer directly impacts the cost, as each requires its brakes.
- Heavier-duty trailers with larger axles will typically have more expensive brake components.
3. Parts Quality:
Higher-quality brake components, such as those from reputable manufacturers, will cost more but often provide better performance and longevity.
4. Labor Costs:
If you choose a professional mechanic to perform the replacement, labor costs will vary depending on your location and the mechanic’s hourly rate.
5. Additional Components:
In some cases, additional components, such as hubs, drums, rotors, or wiring, may need to be replaced, increasing the overall cost.
Where to Get Trailer Brake Cost Information?
Contacting local trailer repair shops is the best way to get accurate cost estimates for your specific trailer. Online retailers that sell trailer parts can also provide an idea of the cost of individual components.
Important Note:
Brake work is safety-critical. If you are not confident in your mechanical abilities, having a professional perform the replacement is always best.
Safety Precautions During Trailer Brake Replacement
Replacing trailer brakes demands mechanical skill and a strong focus on safety. Here is a detailed look at the vital precautions you should take –
1. Using Proper Safety Equipment:
- Brake dust, metal shavings, and other debris can quickly become airborne during brake work. Safety glasses are crucial to protect your eyes from these hazards.
- Brake dust can be harmful, and sharp edges on brake components can cause cuts. Wear durable gloves to protect your hands. Nitrile gloves are a good choice for resisting brake fluid.
- If you are using power tools or hammering, hearing protection can prevent damage to your hearing.
- Wear sturdy, closed-toe shoes to protect your feet from falling tools or components.
2. Securing the Trailer Properly:
- Work on a level, solid surface to prevent the trailer from rolling.
- Use heavy-duty wheel chocks in front and behind the wheels that will remain on the ground. This prevents any unintended movement.
- Never rely solely on a hydraulic jack. Use sturdy jack stands rated for your trailer’s weight. Place them under the axle or frame at designated support points.
- If your trailer has an emergency brake, engage the emergency brake.
3. Working in a Well-Lit and Ventilated Area:
Proper lighting is essential for seeing clearly and avoiding mistakes. Illuminate the work area with a work light or flashlight.
i) Ventilation:
Brake cleaners and other chemicals can produce harmful fumes. Work in a well-ventilated area or use a respirator if necessary.
ii) Following the Manufacturer’s Instructions Carefully:
- Refer to your trailer’s service manual for specific instructions and torque specifications.
- Follow the instructions provided with the replacement brake components.
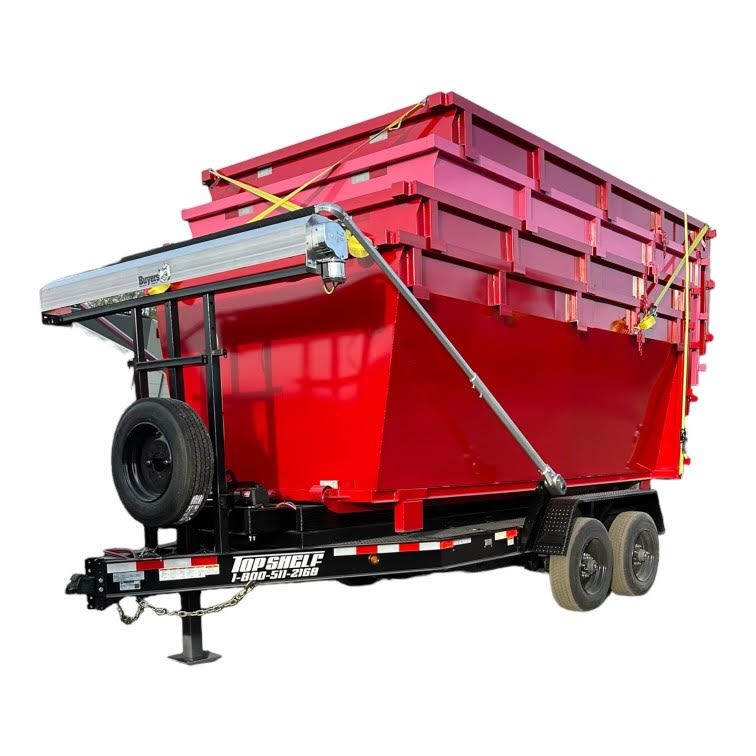
Consult Top Shelf Trailers for the Best Trailer Brake Replacement
We hope this comprehensive read covers every aspect of a trailer brake replacement and caters to your needs.
Trailer brake replacement does not have to struggle with the ideal components. However, we suggest making haste since minimal troubles can lead to serious brake concerns.
Contact the experts at Top Shelf Trailer to get all the necessary parts for an optimum trailer brake replacement. We understand the vitality of a safety-first trailer brake replacement. We offer the best quality and most compatible trailer brakes and other components for your needs.
Explore the collection of trailers available, delivered to you by the best trailer manufacturer in the United States: Top Shelf Trailers.